Wednesday 10 September 2014

The Great Blogger Bake Off: Week 6 - Sachertorte


I'm not sure about the rest of the bloggers taking part in this Blogger Bake Off, but when they announced this week would be European cakes, my mind went blank. All I could think of was Tiramisu, which I made in week 4, and Croque en Bouche (way too technical for me). I've been doing so much research this past week as to what I could bake, and on my way I've come across some amazing looking cakes I never knew existed (my cake has a slightly more complicated pastry brother called the Fachertorte. It looks so scrummy!) However some of them looked extremely complicated, and as much as I would love to have given them a go, I really would have needed more practice. 

It was one evening that I had an epiphany and remembered last year's Bake Off contestants having the grueling task of making Mary Berry's Sachertorte with a very vague recipe, for the technical challenge. I remember thinking that it looked so glamorous and actually not too complicated once you have the full recipe, so I decide to give it a go. 

I found Mary Berry's recipe to be very simple and easy to follow, however I did have a bit of trouble with the piping. I've always veered away from piping because it terrifies me. I take it to heart when I try and get all creative with baking and it turns out looking poop, so this is the first time I've really donned my piping bag (I actually used a sandwich bag), closed my eyes and gone for it. I'm really pleased with how it turned out, but it would have been a disaster if I'd piped straight away. The best advice I can give to anyone with similar piping fears is PRACTICE. Just have a little squiggle on some kitchen roll just so you get the hang of handling the bag. 

I'd like to think if I was on the show tomorrow, Mary Berry would be happy with my shiny chocolate and piping skills. 

Ingredients

For the topping and the icing


Method


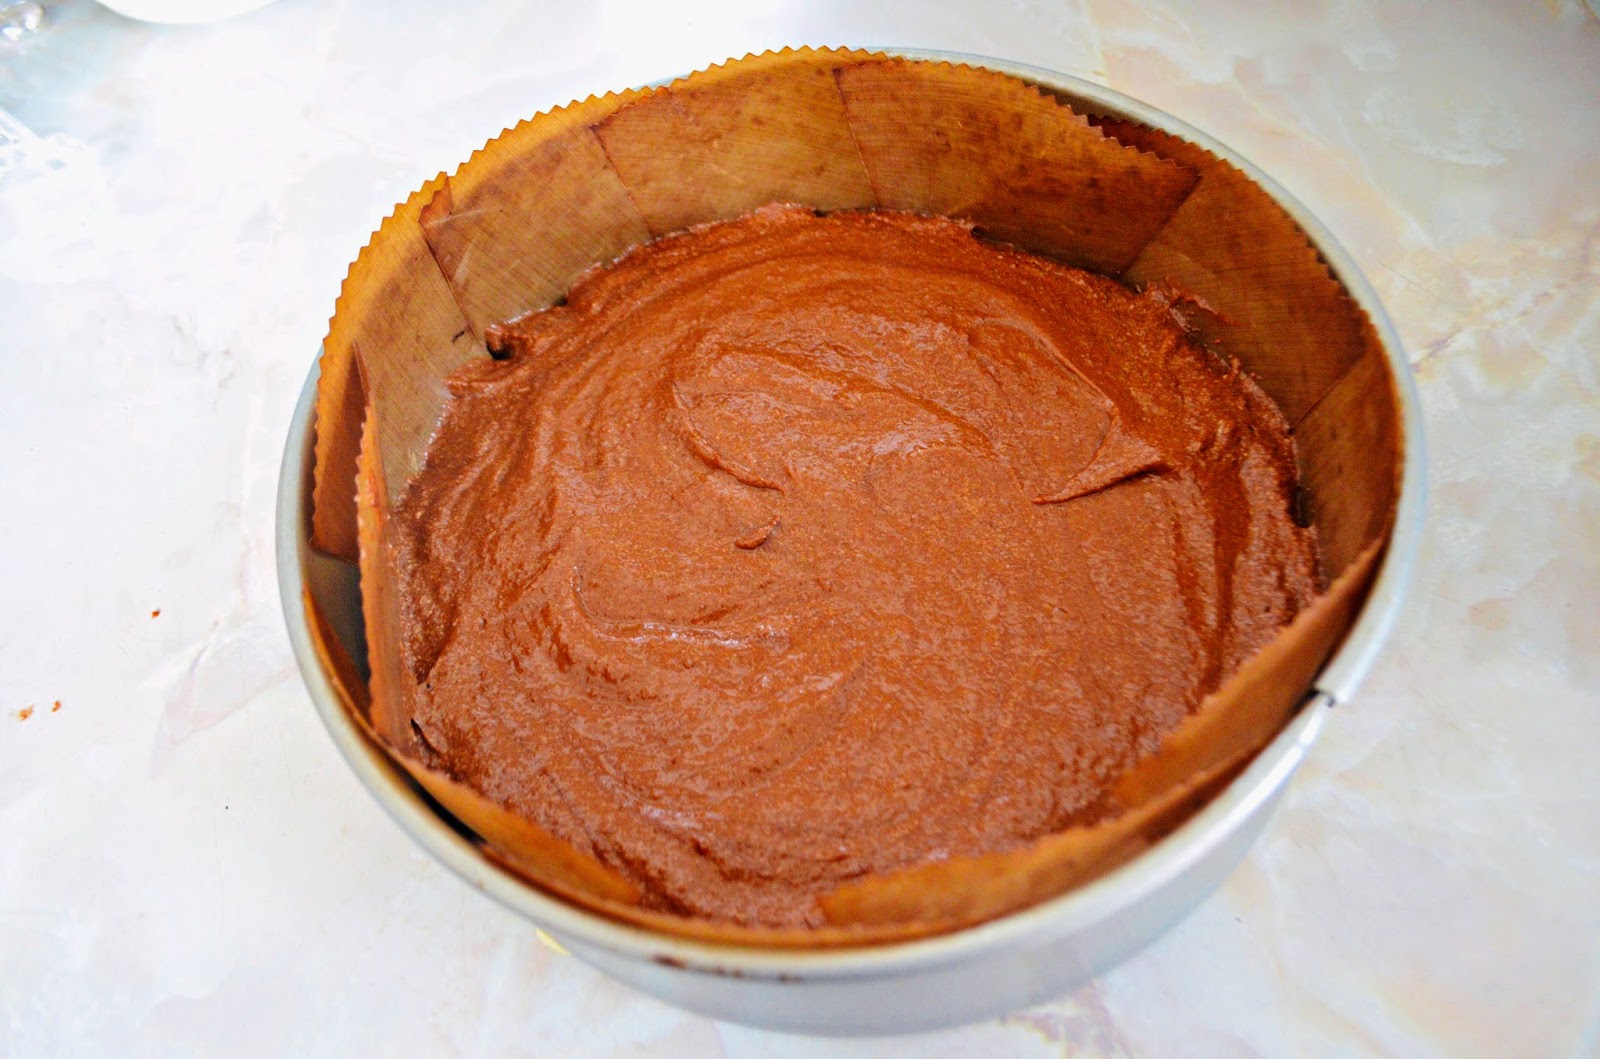
1) Preheat the oven to 180C/350F/Gas 4. Grease a deep 23cm round cake tin then line the base with greaseproof paper.

2) Break the chocolate into pieces, melt gently in a bowl set over a pan of hot water, stirring occasionally, then cool slightly. Beat the butter in a bowl until really soft, then gradually beat in the sugar until the mixture is light and fluffy. Add the cool chocolate and the vanilla extract and beat again. Add the egg yolks, then fold in the ground almonds and sieved flour. The mixture will be quite thick at this stage.


3) In a separate bowl whisk the egg whites until stiff but not dry. Add about one third to the chocolate mixture and stir in vigorously. Gently fold in the remaining egg whites. Pour the mixture into the prepared tin and level the surface. 


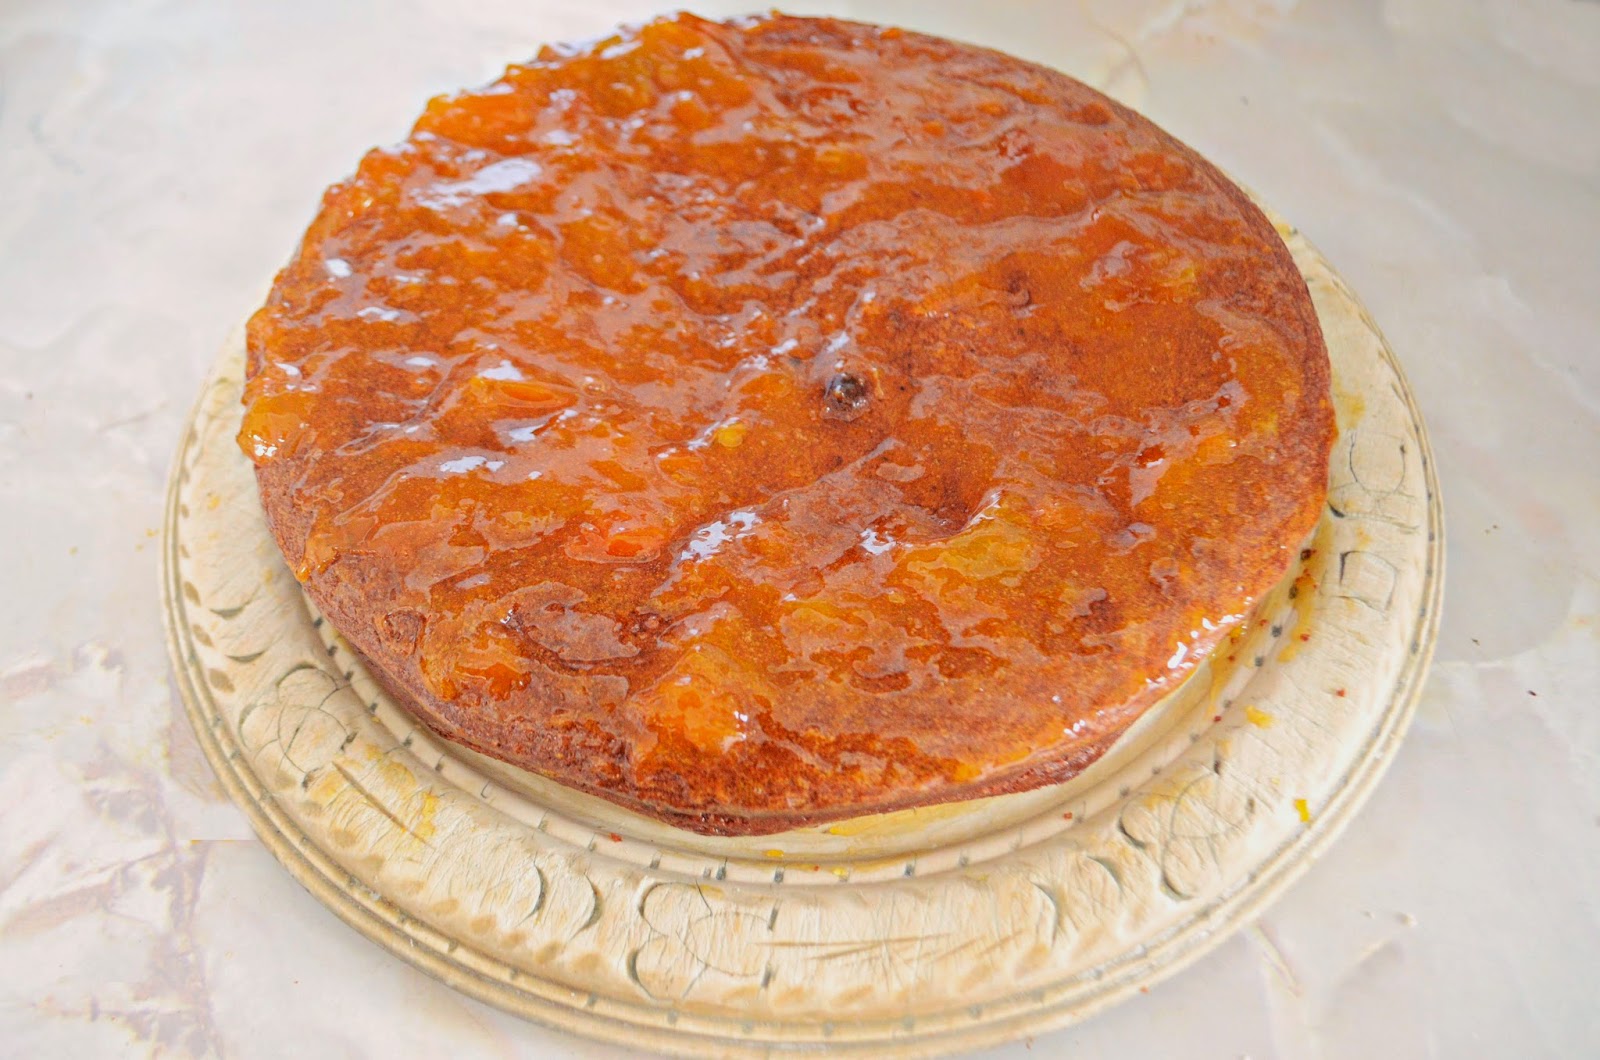
4) Bake in the oven for about 45-50 minutes, or until well risen at the top and the cake springs back when lightly pressed with a finger. Leave to cool in the tin for a few minutes then turn out, peel off the paper and finish cooling on a wire rack.


5) To make the topping, heat the apricot jam in a small pan and then brush evenly over the top and sides of the cold cake to build up a layer. Allow to set


6) Make the icing by breaking the plain chocolate into pieces. Heat the cream until piping hot, remove from the heat and add the chocolate. Stir until the chocolate has melted, then cool till a coating consistency. Then pour the icing on to the centre of the cake. Spread it gently over the top and down the sides, and leave to set. 


7) For the 'icing' writing, break the milk chocolate into pieces then melt gently in a bowl set over a pan of hot water. Spoon into a small paper icing bag or a sandwich bag if you don't have one and snip off the corner. Before piping onto the cake have a little practice on some kitchen role, just to make sure the consistency is right.  Pipe 'Sacher' across the top and leave to set. 


READ MORE

Wednesday 3 September 2014

The Great Blogger Bake Off: Week 5 - Pecan Pie


If you don't like pies, I don't want to be your friend. 

I would rather have a wedding pie than a wedding cake, so I was so excited to get pie making. 

Now pecan pie is actually a large part of my childhood. Mum used to buy a pecan danish from the supermarket and it was my favourite dessert, but then they stopped making them and I haven't had one since, so anything remotely close to it has nostalgia in every mouthful. 

It's a classic, and is surprising easy to make (I'm pretty rubbish at dough) and the spelt flour gives the base a light, digestivy taste. 

This pecan pie is soooo bad for you, but is brilliant for a special occasion where you can justify having a naughty treat. 


Ingredients
Pastry
225g spelt flour
75g golden caster sugar
125g unsalted butter chilled and diced
1 medium egg separated
milk
Filling
200g pecan nutsw
juice and finely grated zest of 1 lemon
300g golden syrup
3 medium eggs plus 2 egg yolks
300ml double cream
pinch of sea salt
icing sugar for dusting (optional) 

Method
1) Place the flour, sugar and butter in the bowl of a food processor and give it a quick burst at high speed to reduce it to a crumb-like consistency. 

2) Add the egg yolk and then, with the motor running, trickle in just enough milk for the dough to cling together in lumps (a teaspoon or two should do it). Bring the dough together into a ball using your hands, then pat into a flattened patty. Wrap in cling film and chill for at least 1 hour or overnight. 

3) Have ready a loose-bottom tart tin about 23cm x 5cm (9in x 2in ). Preheat the oven to 200c/180c fan/ gas 6. 

4) Lightly dust a work surface with spelt flour, knead the pastry until it is pliable, then roll it out thinly. Line the base and sides of the tin by slipping the base under the rolled pastry and then into the tin, gently pressing it in. 

5) Trim the edges and reserve trimmings. Line the case with foil and baking beans, securing the sides to the tin. Place on a baking sheet and bake for 15 minutes. Remove the foil and beans, brush the case with the egg white, patch any cracks with the trimmings and cook for another 10 minutes until evenly golden. 

6)Turn the oven down to 170C/ 150C fan / gas 3. Thinly slice two thirds of the nuts. Whisk the lemon juice and zest into the syrup in a large bowl, then whisk in the eggs and the egg yolks and finally the cream. Fold in the sliced nuts and salt. Pour the mixture into the the precooked pie case and arrange the remaining pecans flat-side down over the surface. 

7) Bake for 60 minutes until lightly golden and puffy at the edges  (if you move the tart around it should wobble without showing any signs of being liquid). 

8) Remove from the oven and leave to cool for a couple of hours. 


READ MORE

Wednesday 27 August 2014

The Great Blogger Bake Off: Week 4 - Tiramisu Trifle


DESSERT TIME. Before this week, I'd been eating pretty healthy but when I realised I had to make a dessert I looked through all my recipe books for inspiration and thought stuff it, this week I'm going all out. So I have decided to combine two of my favourite desserts: Tiramisu and the classic trifle. 

I'm a dairy addict, particularly when it comes to cream. The creamier the better (getting on the Bake Off innuendo band wagon). I don't think you can get more decadent than this dessert. It contains everything from coffee and chocolate to liqueur and lashings of mascarpone and custard. The brilliance of this recipe is that instead of sticking to traditional trifle layering, the custard is combined with mascarpone to make more of a Zabaione. 

Ingredients
175g sponge fingers
4 1/2 tbsp coffee 
12 tbsp boiling water
6 tbsp Amaretto liqueur
3 medium eggs seperated
50g golden caster sugar
500g mascarpone
1 tsp almond extract
50g dark chocolate
4 tbsp toasted slivered almonds
A handful of cob nuts (if you can get them) 

Method
1) Select a suitable trifle bowl or serving dish. 
3)Take a handful of sponge fingers and chop them in half. This allows for an easier fit in the bowl. Line the bottom half of the bowl. This is just to figure out how many fingers you need for the first layer. 
2) In a tupperware container, pour 4 tbsp of boiling water and add 1 1/2 tbsp of coffee and 2 tbsp Amaretto liqueur. 
3) Add the halved sponge fingers to the coffee and liqueur mixture. Make sure both sides are coated, then re-line the bottom of your bowl. 
4) In a mixing bowl, whisk the egg yolks and sugar until combined, then beat in the mascarpone and almond extract until completely smooth. 
5) Whip the egg whites until stiff using an electric whisk, and fold into the mascarpone mixture in two goes. The texture of the mix should be a thick mousse texture. 
6) Smooth half of this mixture over the coffee soaked sponges. 
7) Repeat step 2, using the same measurements, but this time place the sponges on top of the mascarpone mixture. 
8) Grate 33g of the dark chocolate on top of the 2nd layer of sponges. 
9) Pour the second half of the mascarpone mixture on top of the chocolate, and smooth with a spatula. 10)Leave in the fridge for two hours or overnight to set. 


READ MORE

Wednesday 20 August 2014

The Great Blogger Bake Off: Week 3 - Sage and Olive Focaccia


Eeeeek bread week!!! 

I have never in my life succesfully baked bread before, so I was even more nervous this week than biscuit week. So I really did my research this time as to what was the most fool proof bread recipe, and to my surprise everyone said Foccaccia. It's so fancy and beautiful that I never thought it could be so easy, but it actually is. 

I think that focaccia in itself is such a beautiful bread that I didn't want to be over zealous with the flavourings, and stuck with a simple sage and olive, inspired by the good old Rosemary Shrager.  

If any of you out there are considering getting into bread baking, this is a definitely a brilliant beginners recipe. Given my track record ( we're talking loafs of solid rock here) if I can do it, anyone can. 


Ingredients
500g strong plain white flour
1 1/2 tsp dried yeast
2 tsp salt
4 tbsp olive oil
300ml tepid water
2 tbsp chopped black olives
1 tbsp fresh sage, chopped
To Finish
3 tbsp garlic cloves finely chopped
2 tbsp olive oil
Sage leaves
Sea or rock salt (optional) 

Method

  • Place flour, yeast and salt into a bowl and mix well. 
  • Add the oil and most of the water and mix. 
  • Add the remainder of the water to bring together to form a soft dough (I found I needed  bit more flour). 
  • Knead for 5 minutes until smooth, allow to rest for 5 minutes and then knead in the olives and sage. 
  • Tip into a large bowl, cover with lightly oiled cling film and put in a warm place to rise for about 1 1/2 hours or until doubled in size. 
  • Make indentations in the top with your thumb and sprinkle half the chopped garlic over each loaf, and then pour over 2 tablespoons of olive oil. Lay the sage leaves over the top and sprinkle with salt crystals. 
  • Cook at 230ºC (450ºF) Gas Mark 8 for 15-20 minutes. 


READ MORE

Wednesday 13 August 2014

The Great Blogger Bake Off: Week 2 - Biscuits


So it's week two of the Great British Bake Off, and therefore week 2 of the Blogger Bake Off. On the last episode, it was mentioned that this week's theme would be biscuits. Now I don't have a very good track record with biscuits - I always manage to over-do them, so as you can imagine I was pretty nervous about baking this week. It's bad enough baking for the family and getting it wrong, but when I'm sharing it with you guys, there's an added pressure. It's a good job I'm not on the actual show really - just one disapproving head shake from Mary Berry and I'd crumble like my over-baked biscuits. 

Luckily though, I'm quite pleased with my bakes this week. I chose to make Florentines, because after looking at the recipe, the likelihood of over-baking them seemed pretty low. They are so cute and delicate and ridiculously easy to make (although I did create an awful mess). 

Ingredients
85g unsalted butter
85g golden syrup
30g plain flour
30g chopped almonds
30g chopped mixed peel
60g sultanas and crystalized fruits
60g glace cherries, chopped
110g plain or white chocolate, or some of each, melted
2 baking sheets lined with non-stick baking parchment. 

Method
1) Put the butter and golden syrup in a medium, heavy-based saucepan and heat until melted. Stir in the remaining ingredients except the chocolate. 
2) Put teaspoons of the mixture onto the prepared baking sheets, spacing them well apart. Flatten lightly with the back of a spoon. Bake in a preheated oven at 180°C (350°F) Gas 4 for 7-8 minutes until light golden brown. 
3)Remove from the oven and let cool for 1-2 minutes, or until firm enough to transfer to a wire rack to cool completely. 
4)When cool, coat the flat underside of each Florentine with melted chocolate and, using a serrated icing spatula or a fork, make a wavy pattern in the chocolate. Leave to set, chocolate side up. Store in a cool place in an airtight container and eat within 1 week. 

READ MORE

Wednesday 6 August 2014

The Great Blogger Bake Off: Week 1 - Cakes


Evening all. 

This post is very different to what I usually write about, but this is something I couldn't resist doing. 
Now if you're an avid baker you're probably more than aware that the Great British Bake Off starts tonight. 
So in homage to this mouth-wateringly addictive show, the lovely Lawra over at I Love Crafty has organised a Great Blogger Bake Off, where once a week, alongside the show, bloggers bake something inline with the theme of that week's show. 

Now I love any excuse to bake, however I only found out about the whole thing this morning. I didn't want to miss out on the first post though. Now in true Come Dine With Me style, I'm going to come clean and say I didn't bake this today. However, this was a very recent bake of mine that was dedicated to the using up of my homegrown harvest of redcurrents, tayberries and blackcurrents. 

I'd never worked with these berries before and had no idea what to do with them, but was determined to make a cake. After a bit of research, I found this Good Food recipe. Alas, still no use of my berries, so I had to adapt it a little. 

First off, I didn't have a loaf tin so used a normal, round spring-form tin. Apart from that the majority of the recipe is pretty much the same. I had to add a bit more sugar than the recipe states when reducing the berries with the lemon juice, simply because my selection of berries were a lot more sour tasting compared to those in the recipe.  

I can only apologise for this very lackluster first post to what I would love to have been an icing fueled, bowl licking extravaganza. 

I do solemnly swear that my next post will contain more dedication. 

Enjoy the first show of this Great British Bake Off season!!

(Would still recommend this cake though, a great use of a homegrown harvest, and can really be applied to any berries you have lying around.) 


READ MORE